Our Save The Dates (And Tips For Saving on Yours!)
This post was sponsored by Basic Invite but as always, all opinions are 100% my own!
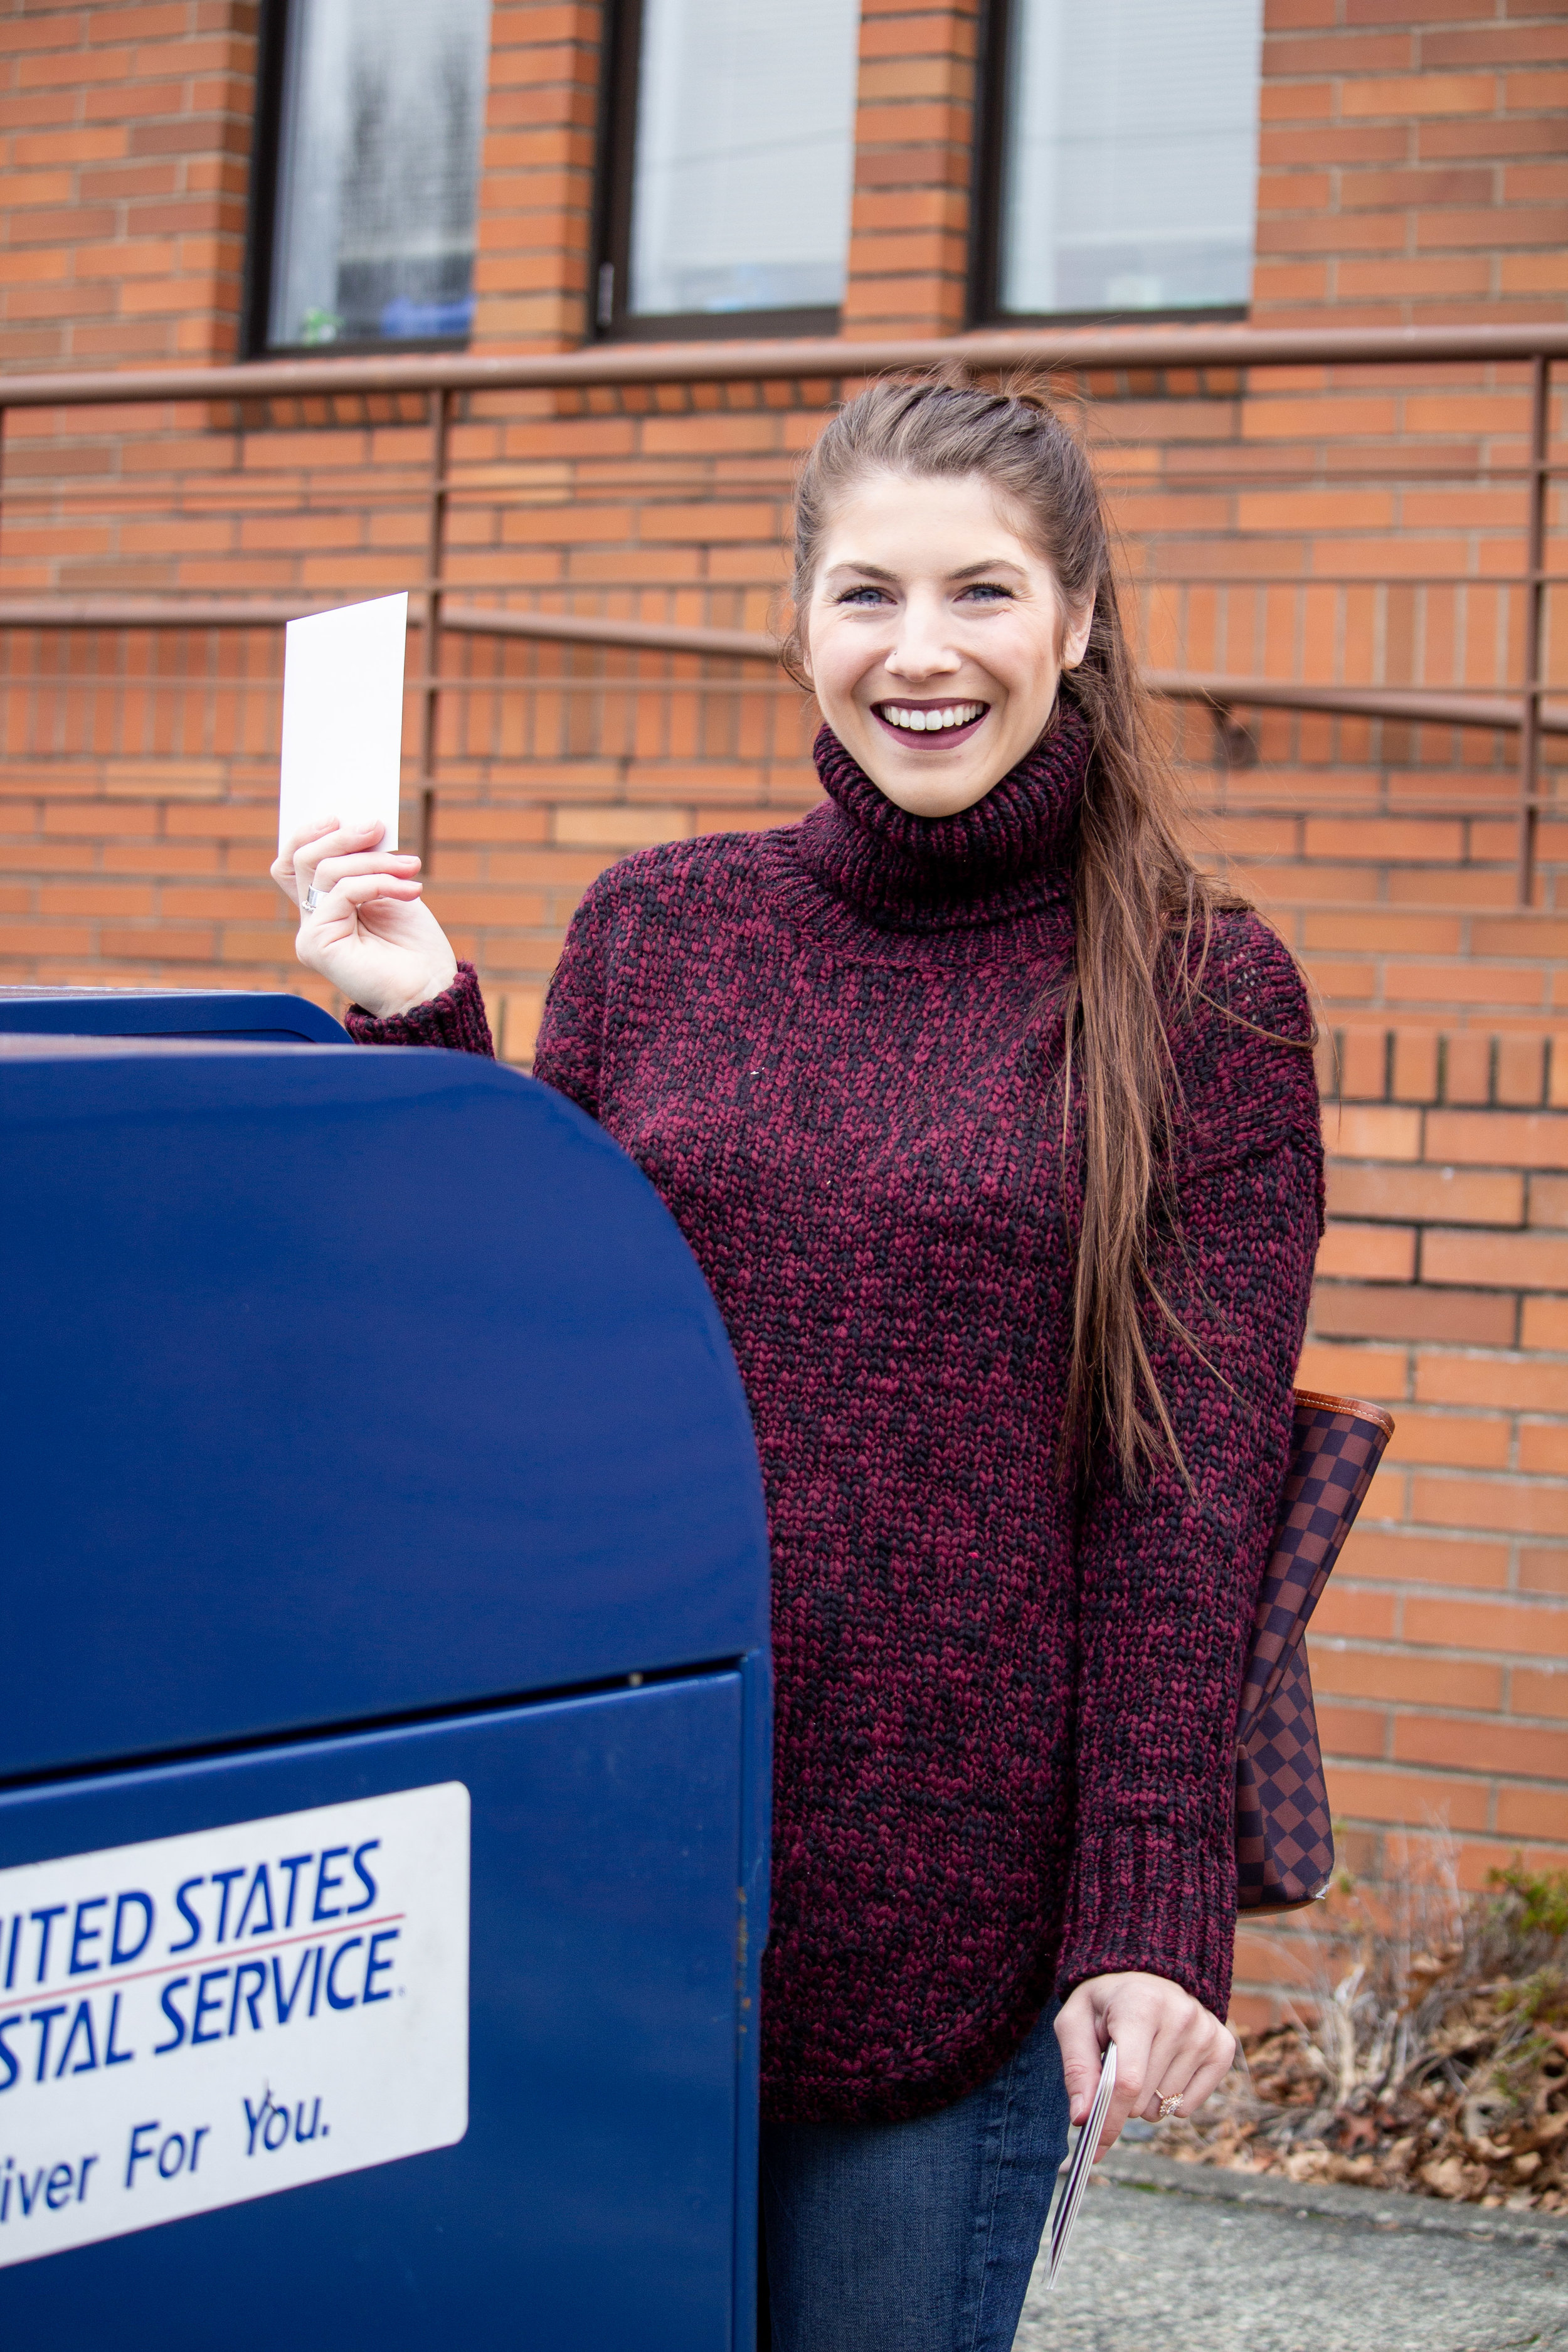
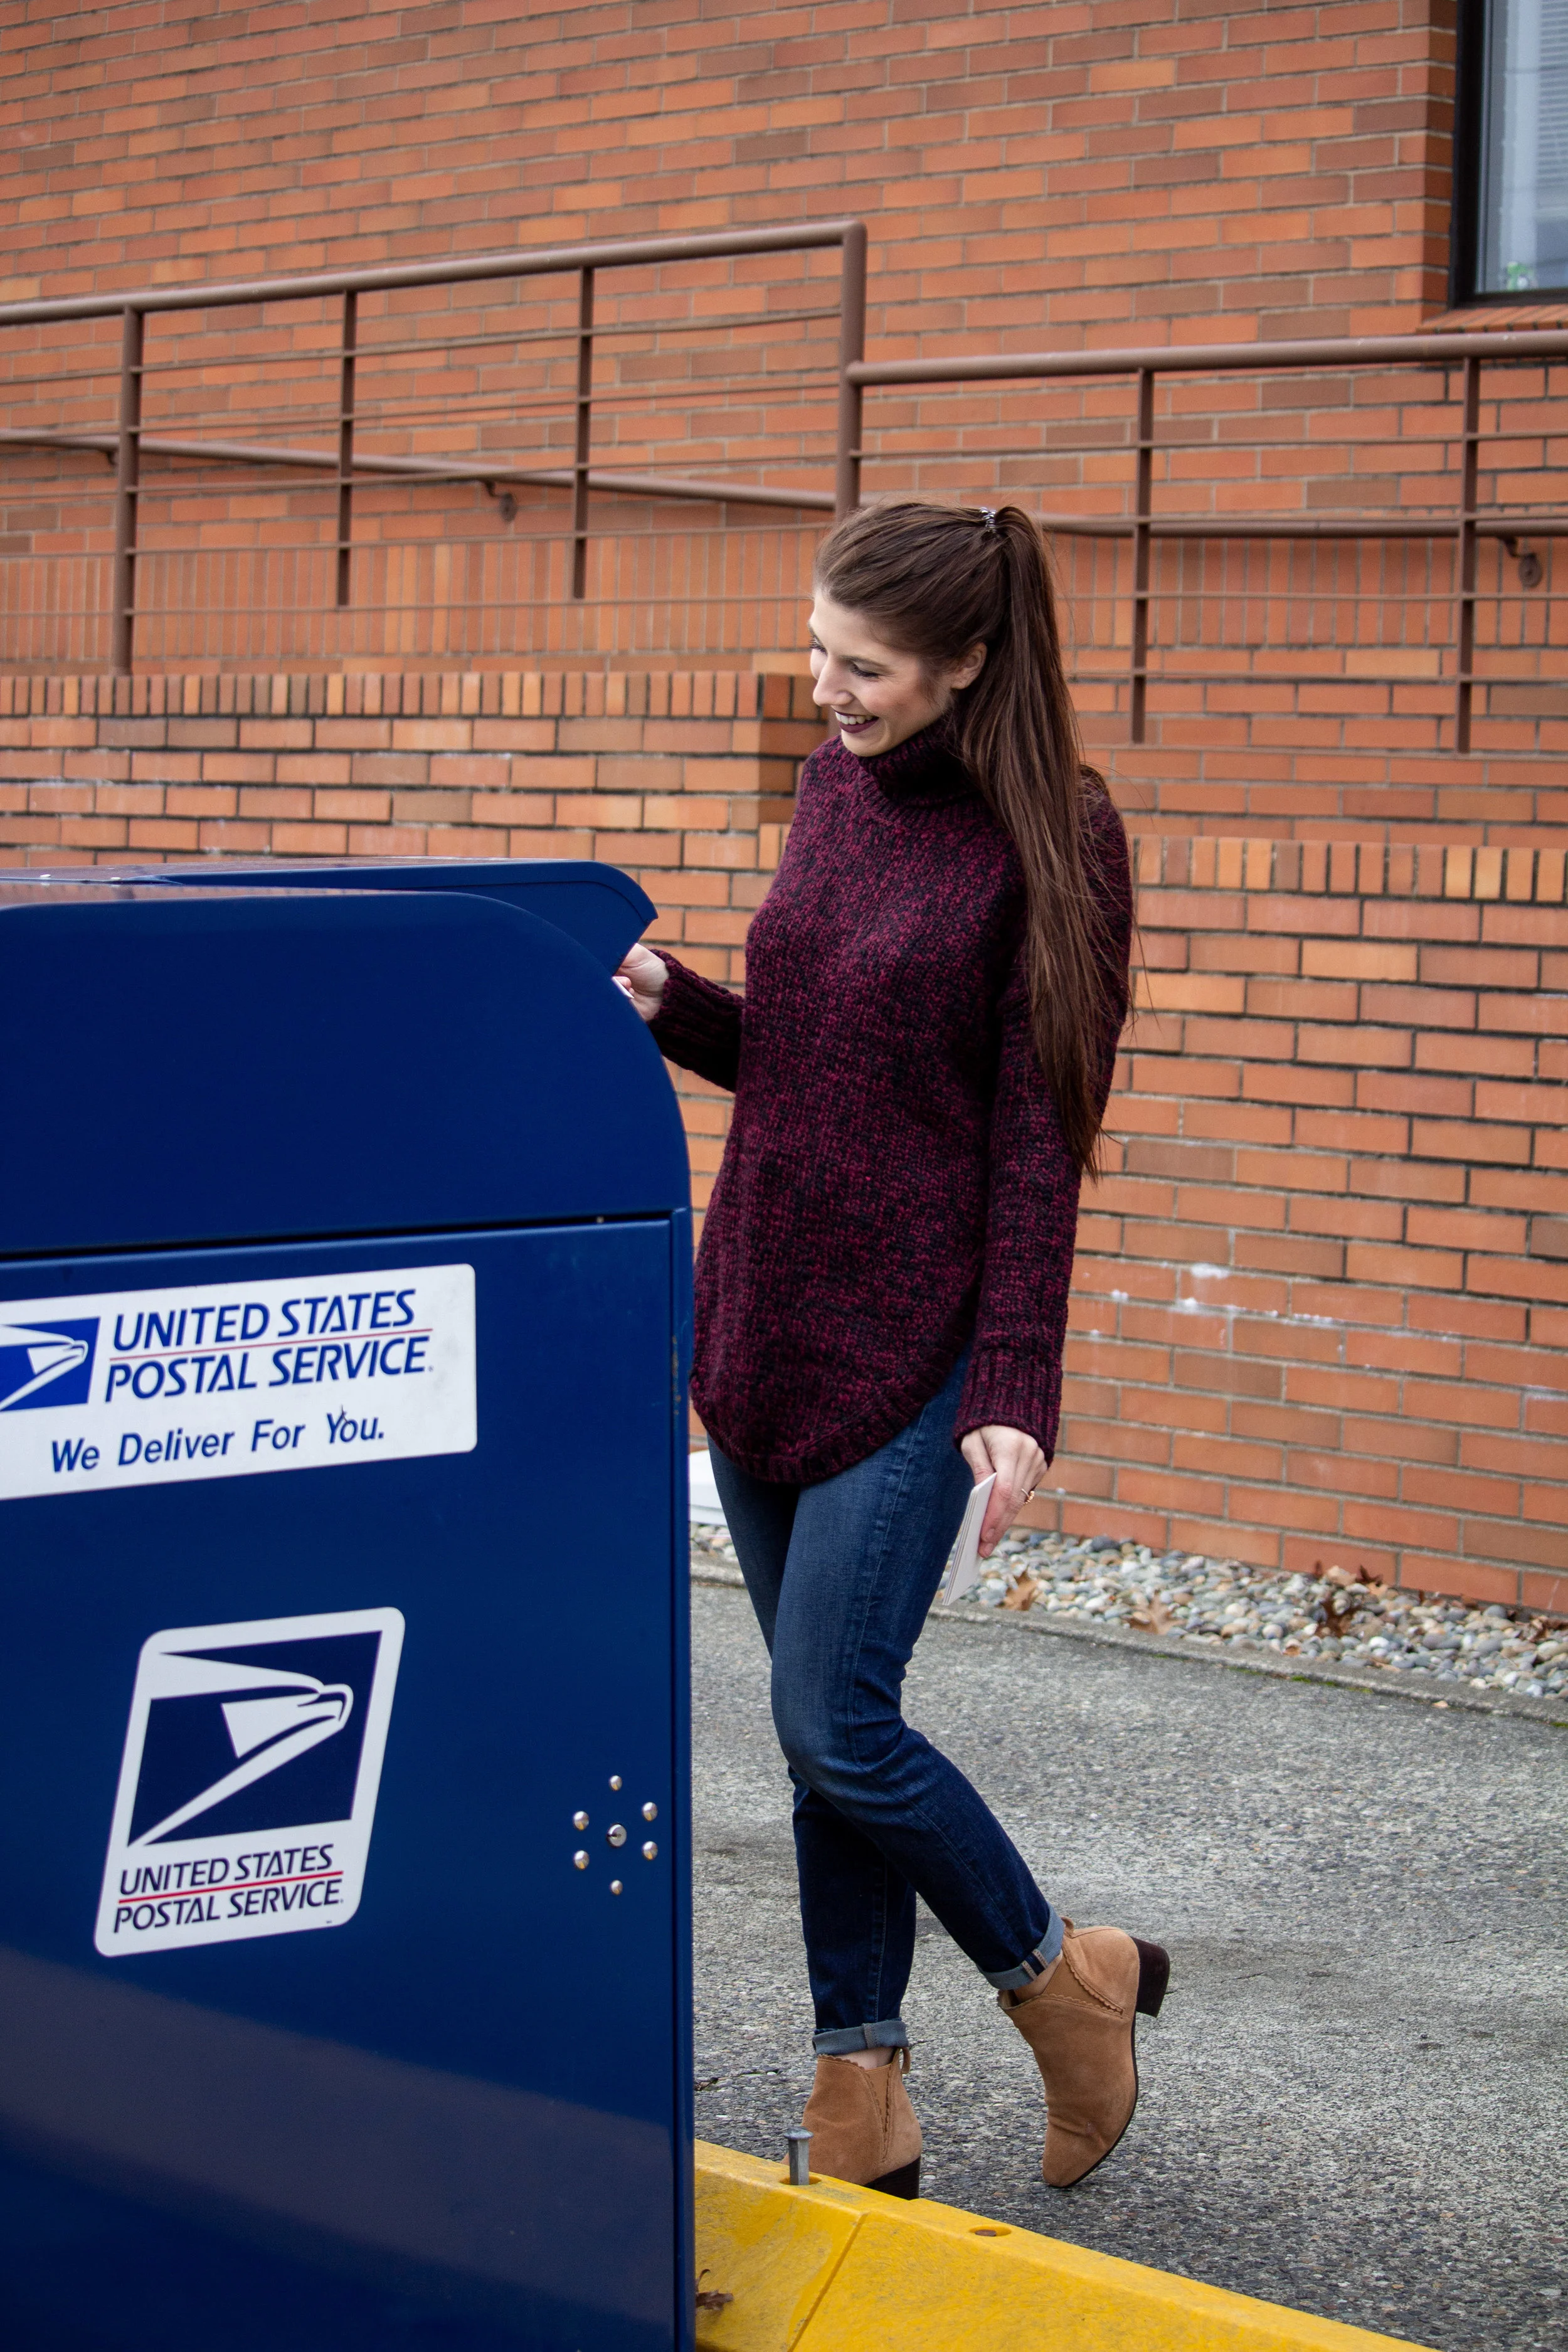
Hey friends, welcome back to another Wedding Wednesday! This past week I sent out some pretty important mail, and I am so excited to finally be able to share it with you guys! Our wedding isn’t until October, but since so many of our guests are traveling from out of town, Jerry and I wanted to get our Save The Dates out as early as possible to give everybody enough time to make travel arrangements and find the best flight and hotel deals!
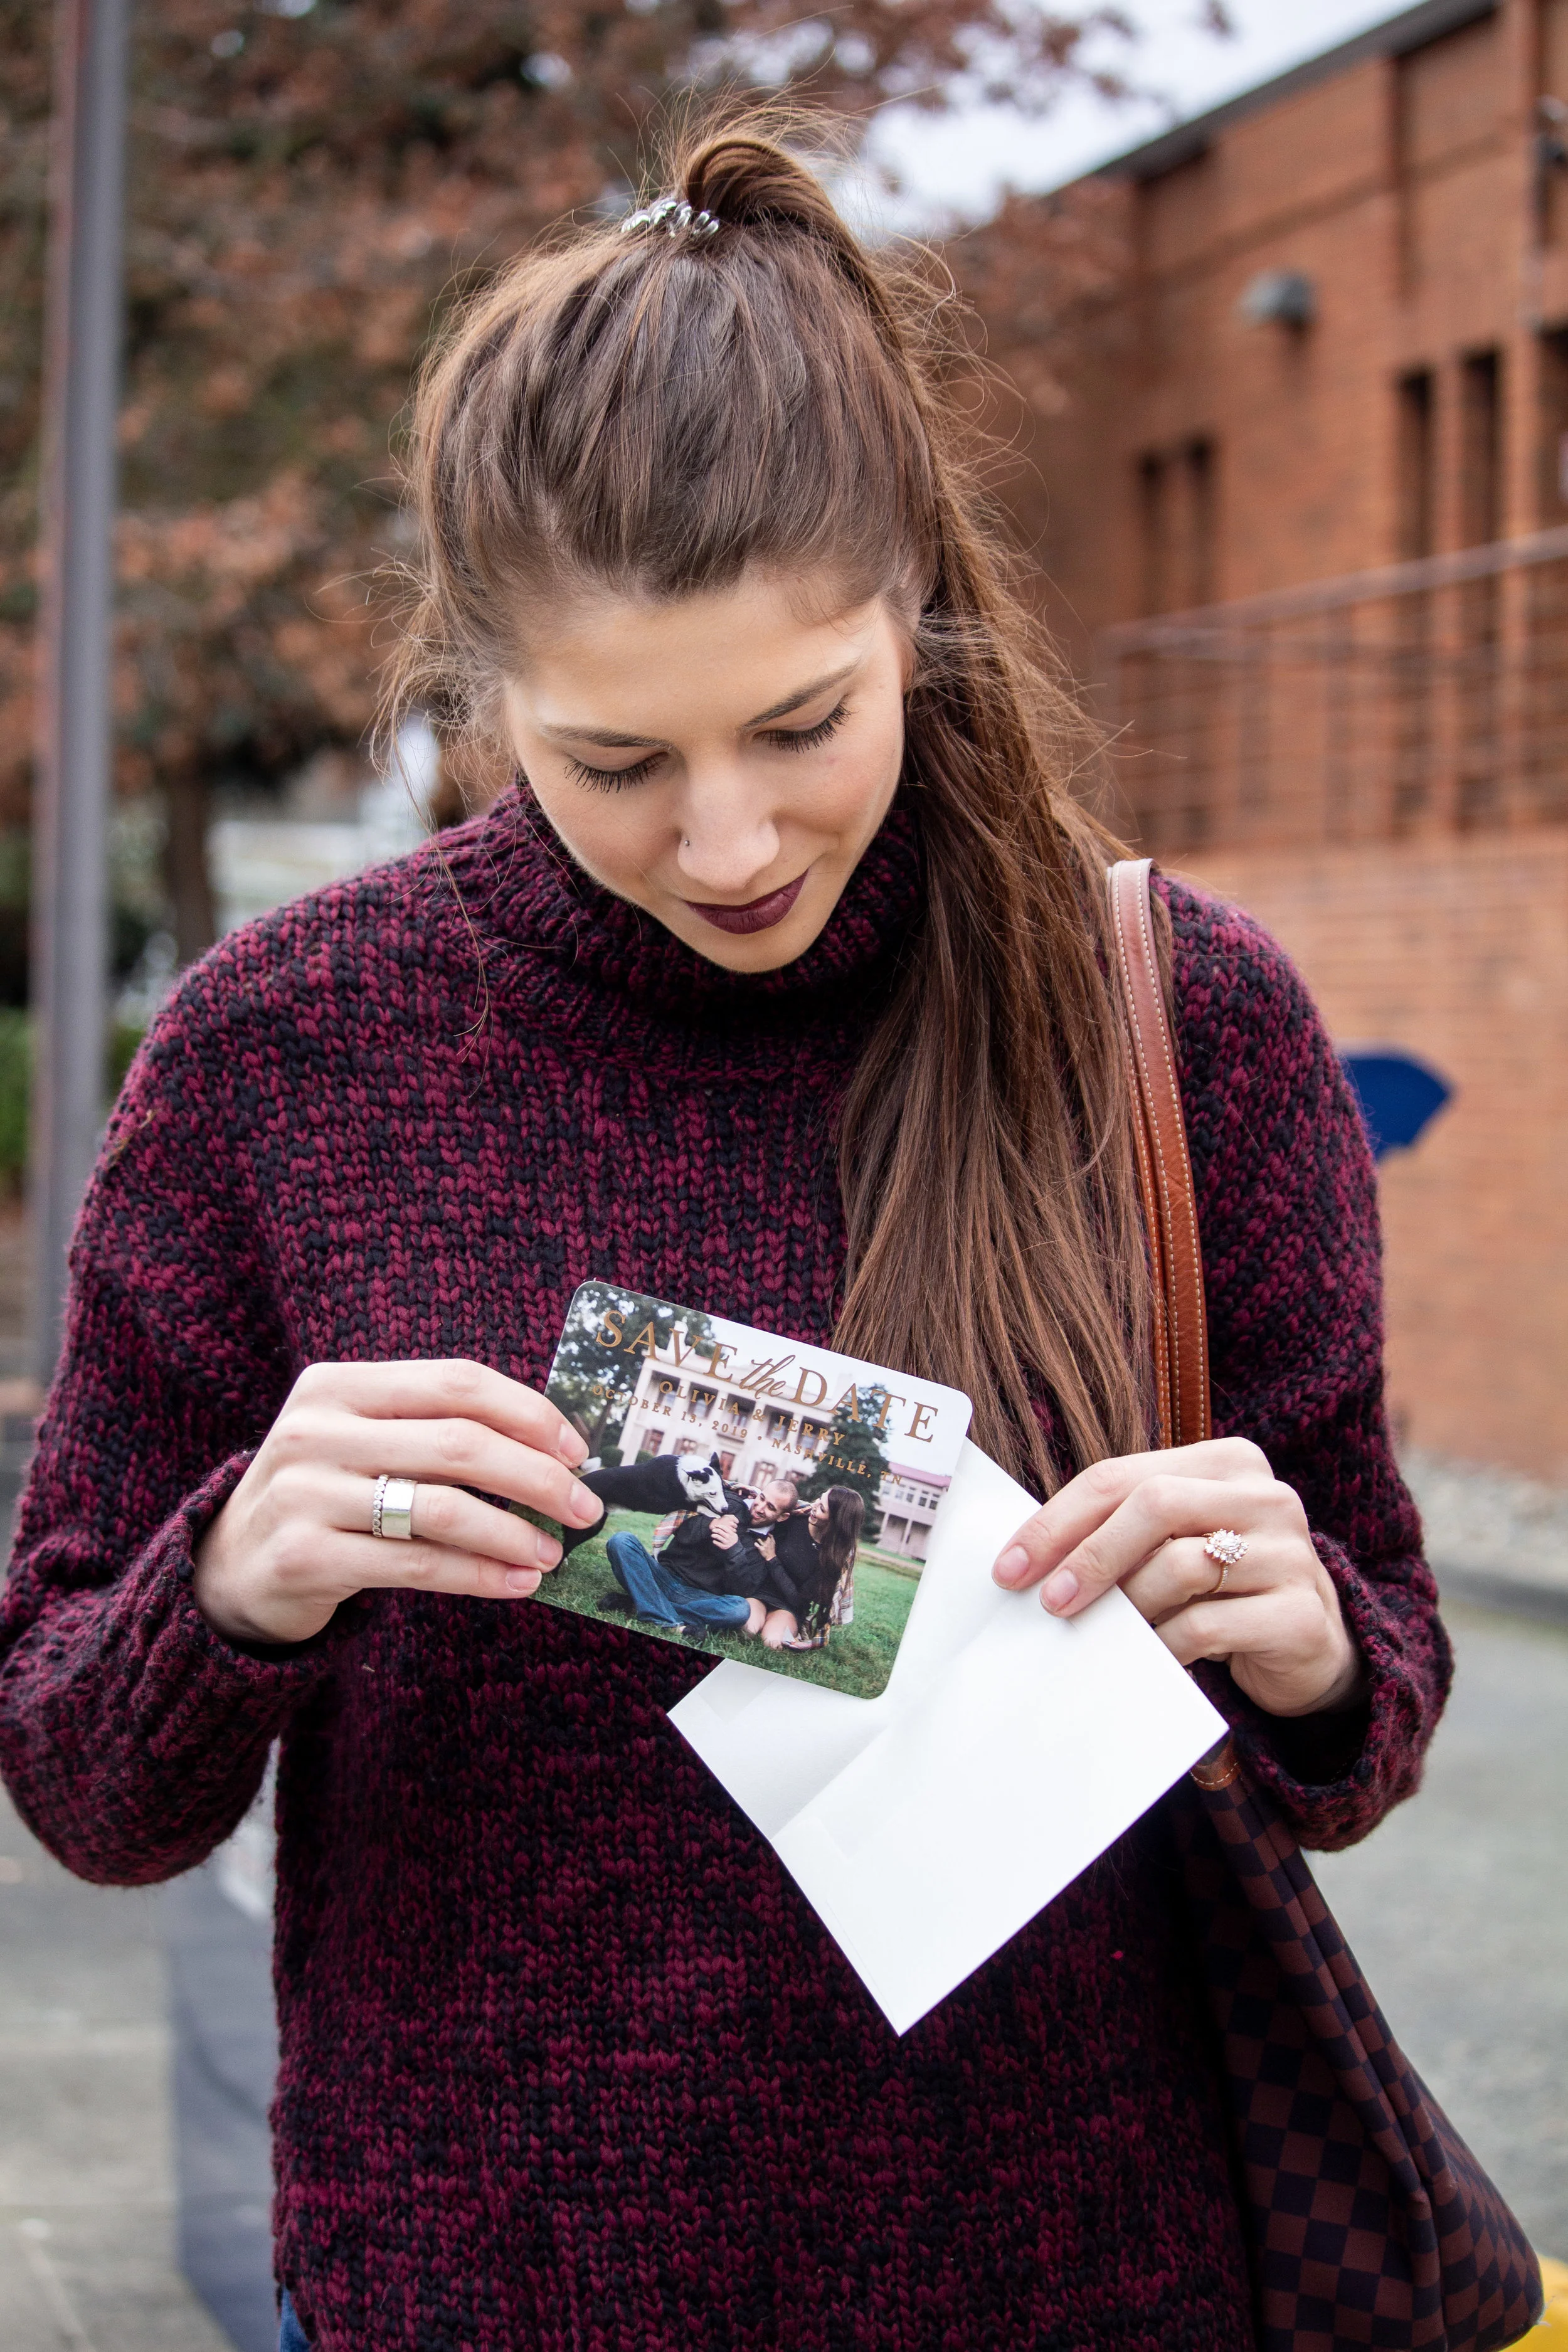
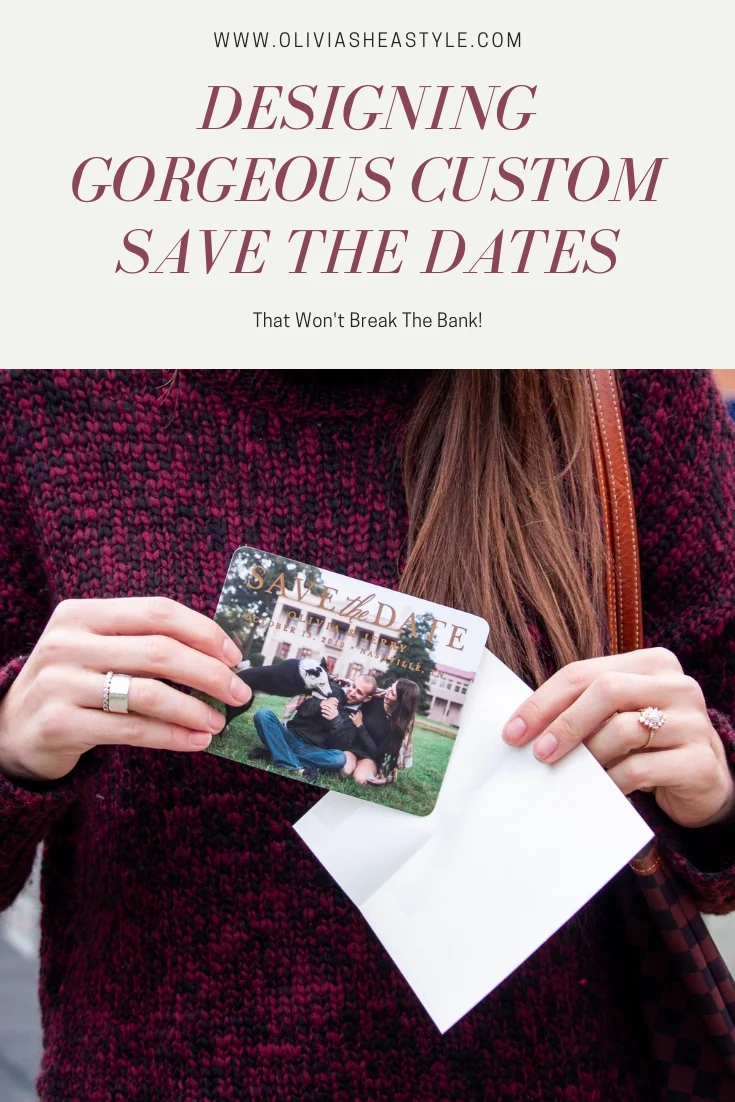
When we first started looking into save the dates, I spent a good amount of time shopping around before I finally settled on Basic Invite! I wanted something that was affordable, yet elegant and fit well with the overall look of our wedding (or at least something that fit with the picture I currently have in my head!). I loved Basic Invite because they had SO many different options to choose from, and you could make them as simple or as extra as you want, so it fits well with all types of budgets! When designing ours, I knew that I wanted to use a photograph, and it was really important to me to use one that really showed our personalities. This one from our engagement shoot with Euler (which you can read all about here) was perfect because everybody knows how obsessed with him we are, and since we plan on having him in our wedding, it only felt right to include him!
What I loved about Basic Invite was how customizable their save the date and wedding invitation designs are! Pretty much every element could be customized in some way, which allowed us to make our save the dates completely our own! Since the picture we chose is a bit busy and there isn’t really any empty space for text, we went with a rose gold (one of our wedding colors) foil text. We loved the foil because it’s raised and metallic, making it still legible against a busy background. I also felt like it looked a little more fancy than plain text. We chose to go with rounded edges for the same reason— we thought it gave the save the dates a bit more elegance and looked more intentional than your typical squared edges. The last thing we did to make ours look and feel a bit more luxe was go with a pretty, shimmery envelope! I loved the added touch that the envelope gave because it's the very first thing you see when you get the card in the mail, and I felt like it made it feel a bit more special than a normal white envelope would. It was also nice that we were able to add our return address so that we didn’t have to order a stamp or write it out a million times! There is an option to have them addressed, too, but we didn’t do that because we didn’t have all of our guests addresses on hand when we were ordering. If you do though, I highly recommend it because it will save you a ton of time!
When you’re ordering your save the dates, here are a couple of tips to keep in mind!
Just because you’re inviting 150 people, doesn’t mean you need to order 150 save the dates! Keep in mind that many of the people you are inviting have husbands or families that live with them, so each person on your invitation list doesn’t necessarily need their own save the date! Figure out how many households you will be sending them to and order based on that, not on the overall guest count! This may seem obvious, but it’s actually a super common mistake, so making sure you order by household will cut the number you need drastically and save you a ton of money! I highly recommend creating an excel spreadsheet for your guest list with columns for names, addresses, number of people, and RSVP’s. Make each household one row, and then put the number of people invited in that household in the number column. That way you can look at the number of rows to see how many save the dates and invitations you will need, and then add up the number column to see your overall guest count.
Magnets are cool in theory, but probably not worth the added cost. Originally we wanted to go with magnets so that people could just stick them on their fridge instead of shoving them in a drawer and losing/forgetting about them, but we ended up going with regular cards and guess what! Most of our family and friends have snapchatted me pictures of them up on their fridges anyways! They just used their own magnets. Also, getting magnet save the dates means that you can’t put any text or other photos on the back, and may add to your postage costs since they weigh more.
Postcards are a fun idea, but they may not arrive in the best condition. We toyed with the idea of ordering the postcard version, but we realized that not only does it not really save you much money (postage still costs the same and it costs about as much as an envelope to print the postcard lines on the back) a postcard has no protection, so your gorgeous save the date that you worked so hard on designing may arrive scuffed, dirty or even ripped. Envelopes (in my opinion, at least) are the way to go!
If most of your guests will have to travel, try to give them as much advanced notice as possible! If your guests are mostly local, you may be fine waiting a bit longer to get your save the dates in the mail, but if you’re like us and most of your guests are coming from out of town, the sooner you get them out the better! We sent ours out 10 months early so that our guests had plenty of time to plan.
I highly recommend Seal and Send envelopes! Trust me on this, you do not want to have to sit there licking envelopes for an hour. Even if it costs a tiny bit more, self sealing envelopes are 1000000% worth it! I was SO happy that ours were!
Do you have any other tips when it comes to ordering save the dates? I’d love to hear them!
XOXO,
Olivia


